P o s t . b y l M i m i
I remember the first time I was taught to make a dream catcher...
It was 8th grade Art class, 4th period, right after lunch. Of course it was also my favorite class that year. One day, our teacher told us we would be crafting our very own dream catcher. I still had that dreamcatcher until last year. Since then, I didn't know if I should purchase another one or what. So after some thought, I thought why not DIY it! Today, I'll share with you what I learned back in 8th grade, back in art class.
So lets begin today's class ;)....
. . . Materials Needed . . .
Tree branch or Metal/wood ring
Yarn or Fabric or String
Feathers
Beads
Scissors
Note: I am using a old hairband that I secured into a ring. String used is yarn leftover from making a scarf. The best part of making dreamcatchers are to improvise and re-use old scraps and have fun with it. I think using bits and pieces of things make the best DIYs.
 |
| wrap your ring with the fabric or string |
|
 |
| cover the ring completely |
|
 |
| using waxed string OR floss |
|
 |
| create a web around the ring by using half hitch knots |
|
 |
half hitch knot: going under and over (or vice versa)
|
|
 |
after round 1, continuing around
but using loops made in round 1 instead of the ring |
|
 |
| add beads and other ornaments while weaving |
|
 |
| tie a secure knot when finished. |
|
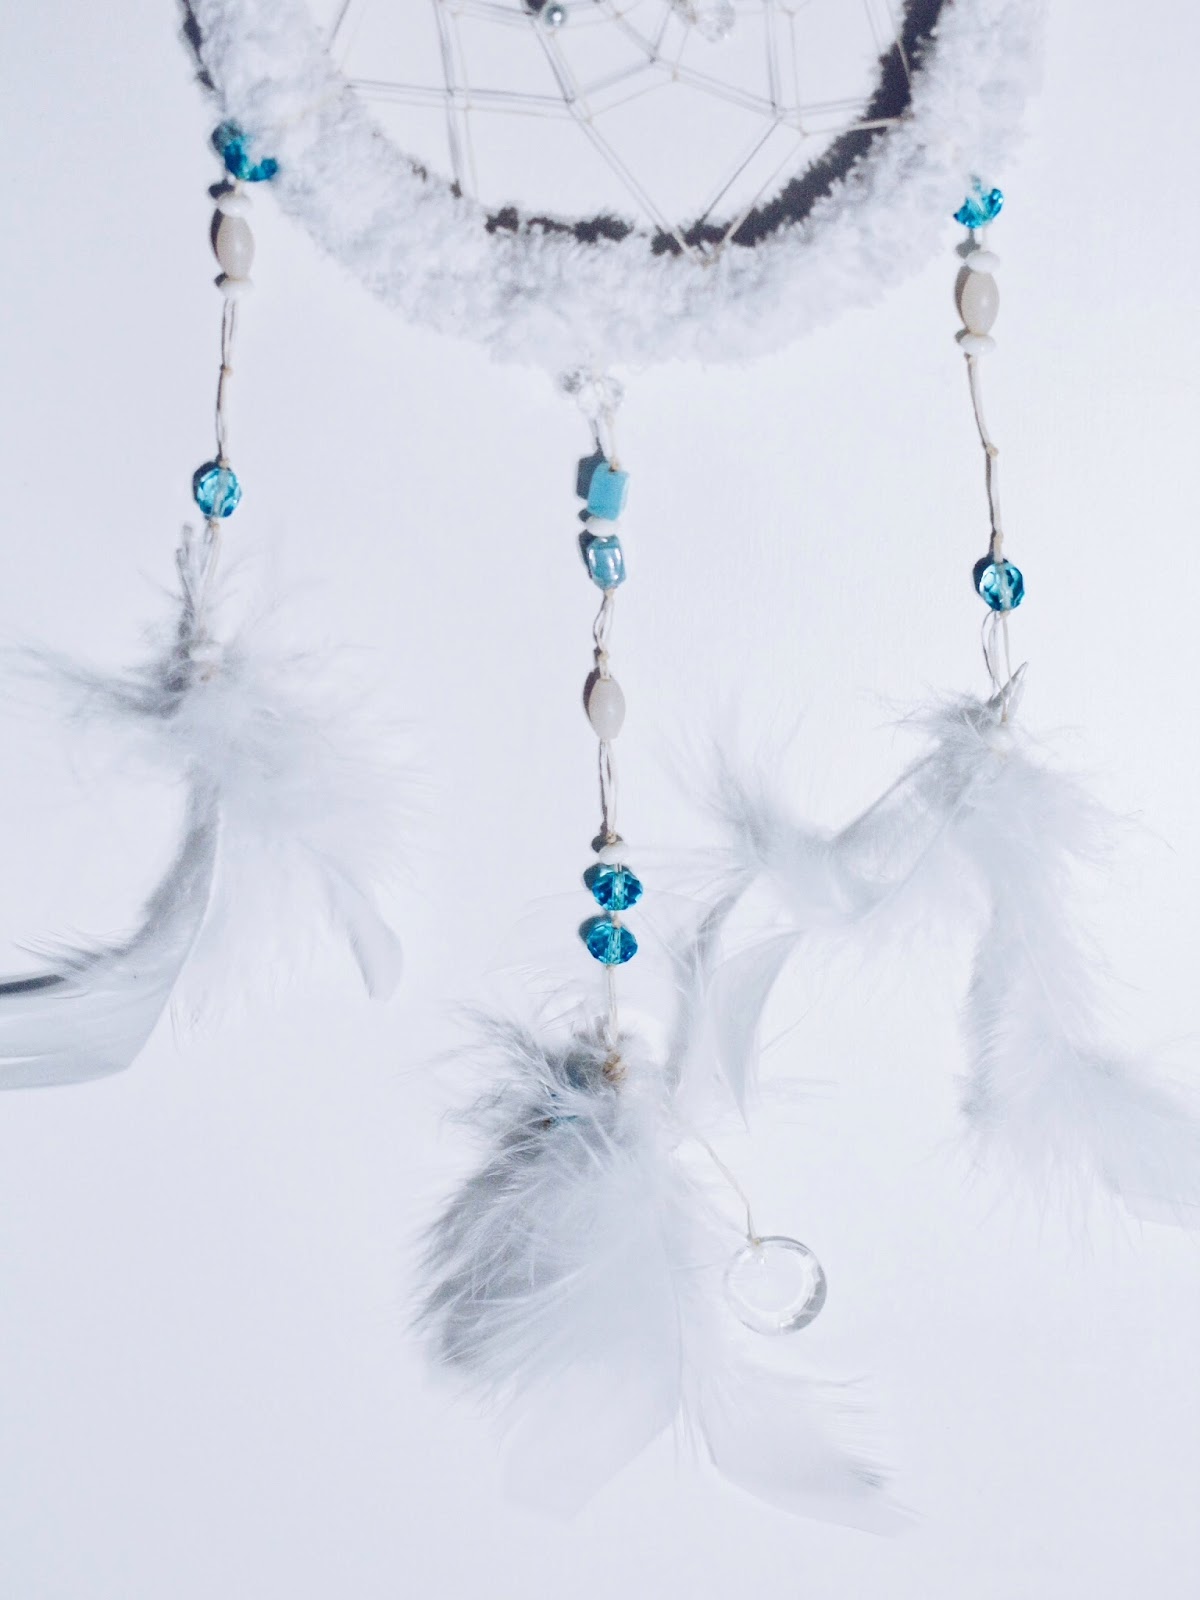 |
| accessorize - adding feathers, beads, fabrics, and etc |
|
 |
| finish off with a string loop ontop in to hang |
|
Share us a picture of your Dream Catcher :)

No comments:
Post a Comment
Leave us a love note <3 . X . O